Exporting the Map
"Map Tools Window"
We have created a map that is ready to be launched in the game. Now it needs to be packaged into a Zip archive.
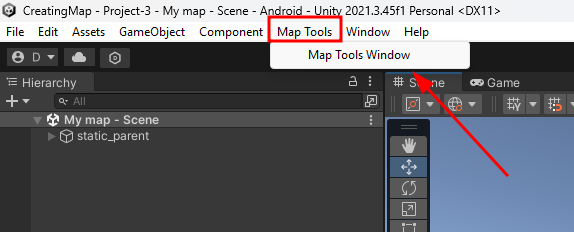
To do this, open the Map Tools → Map Tools Window.
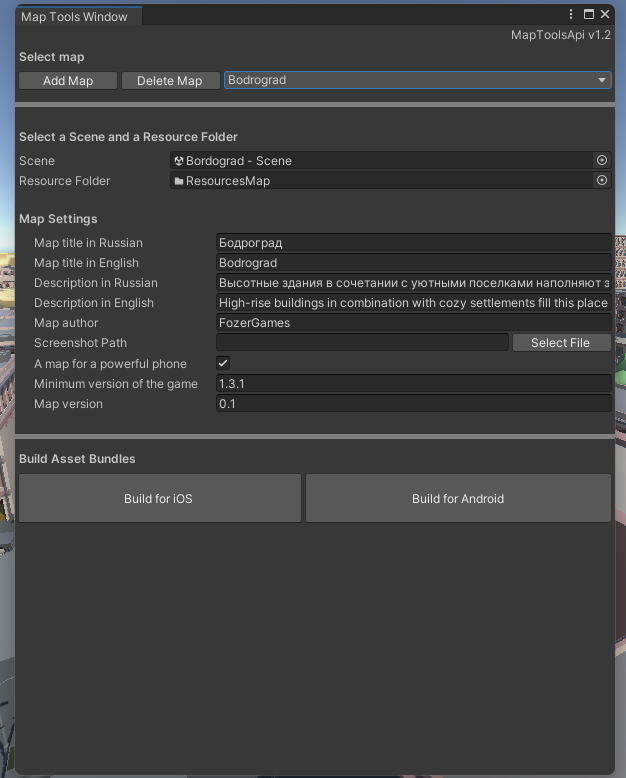
This window is designed for editing the map settings.
Below is a description of the fields and elements in the window:
Map Selection
- Add Map
Adds a new map to the list of available maps. - Delete Map
Removes the selected map from the list.
Scene and Resource Folder Selection
- Scene
The scene file for the map. - Resource Folder
The folder containing the map's resources (textures, models, etc.).
Map Settings
-
Map title in Russian
The map title in Russian. -
Map title in English
The map title in English. -
Map description in Russian
The map description in Russian. -
Map description in English
The map description in English. -
Author name
The name of the author. -
Screenshot Path
The path to the map screenshot file. Use the Select File button to choose an image. The recommended resolution is 636x399 pixels, and acceptable formats are PNG or JPG. -
A map for a powerful phone
An option indicating that the map is recommended for high-end devices/.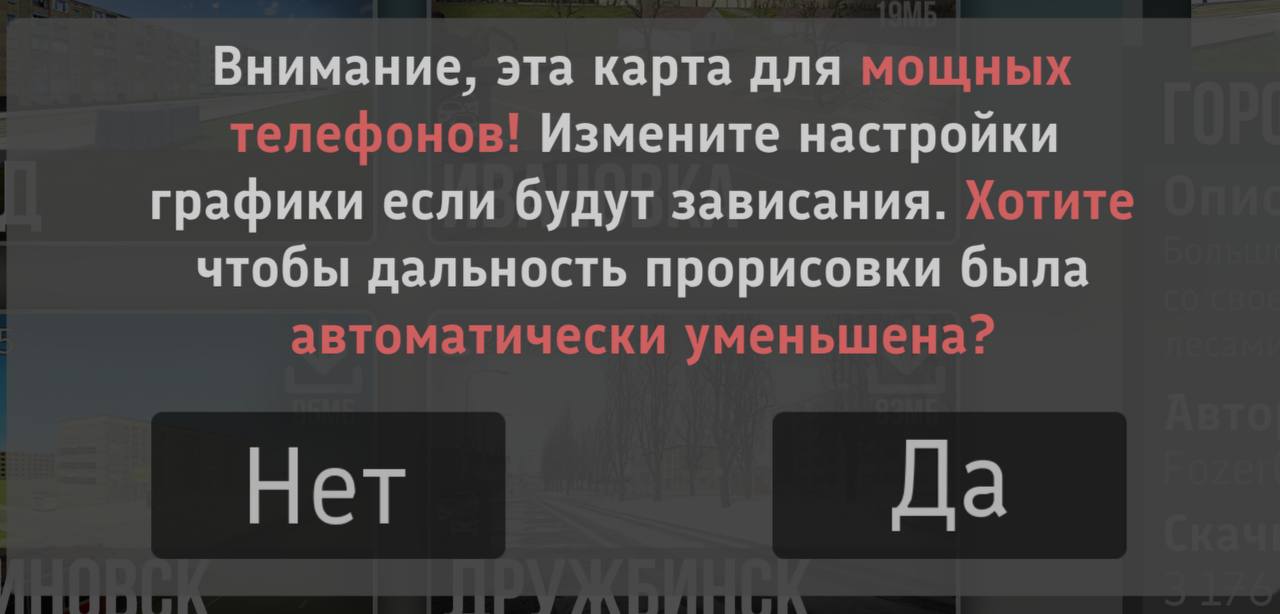
-
Minimum version of the game
The minimum supported version of the game (recommended: "1.3.1"). -
Map version
The current version of the map (e.g., "0.1"; currently not in use but may be useful in the future).
Build Buttons
- Build for iOS
Packages the map for iOS devices. - Build for Android
Packages the map for Android devices.
Configuring the Map Settings
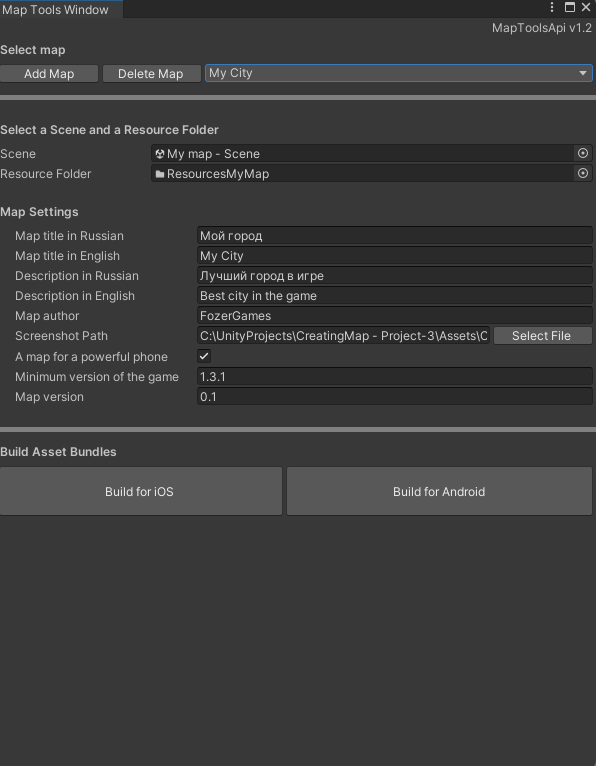
Currently, the window displays settings for the Bodrograd map. To create your own map, click the Add Map button.
On the previous page, we ensured that the map folder structure is correct: a single scene file and a folder with all the map resources. In the first two fields, you need to select the scene file and the resource folder, which can be done by dragging and dropping:
After that, configure the remaining settings. In the end, mine turned out as follows:
Then, select the appropriate build button: Build for Android or Build for iOS depending on the device you will be testing on.
A map built for Android will not run on iOS, and vice versa. If you publish maps for public access, package both versions — first Build for Android, then Build for iOS.
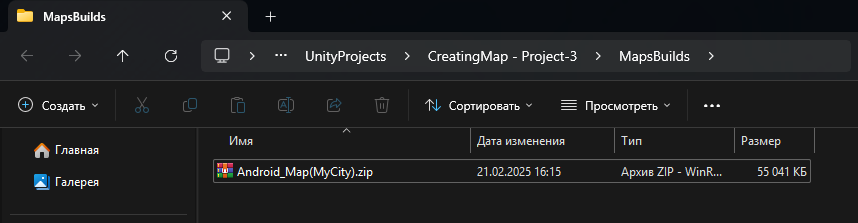
After clicking the build button, wait for the process to complete. Upon successful export, a folder with the ready Zip archive will open.
If the folder with the Zip archive does not open, check the console for errors. Try to resolve them yourself or email dizarmiyt@gmail.com.
Now you have a ready-to-upload Zip archive for your map. In the next page, we will discuss installing the map in the game.